Preview
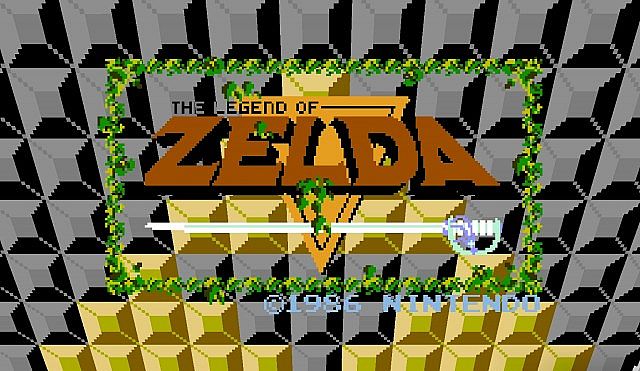
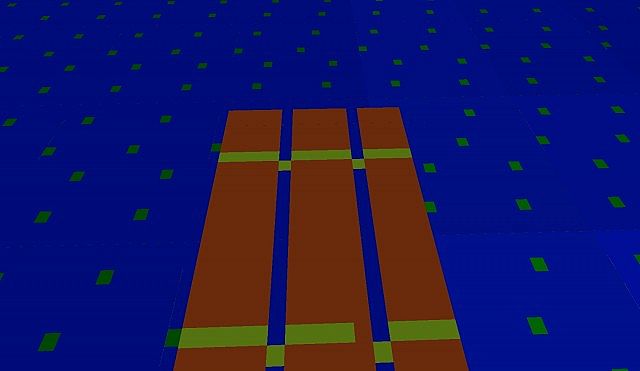

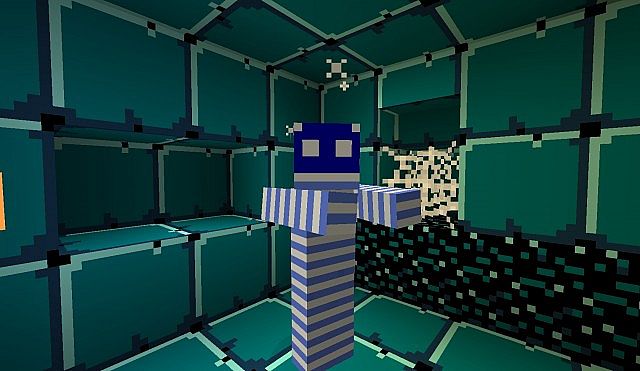
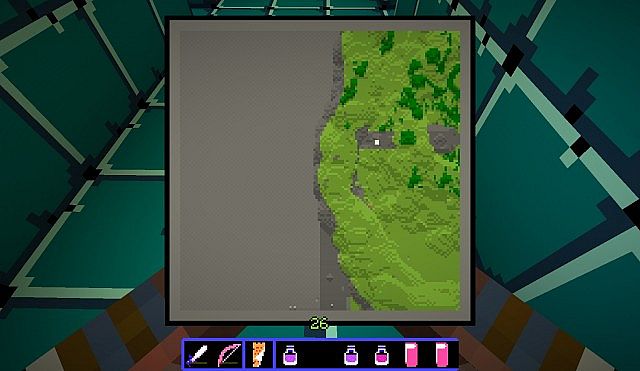
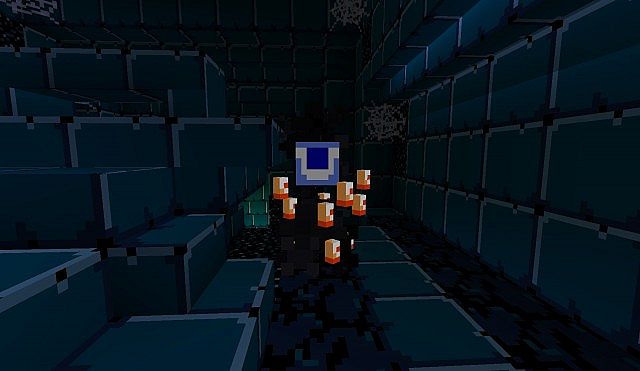
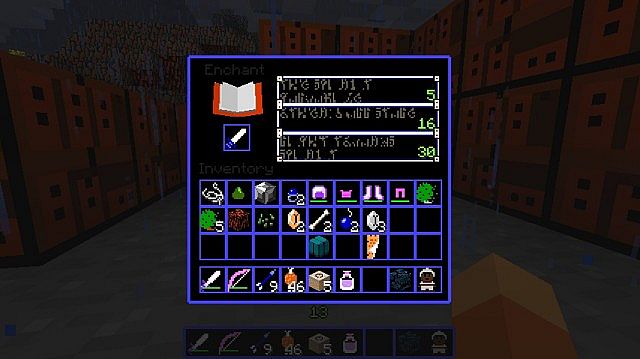
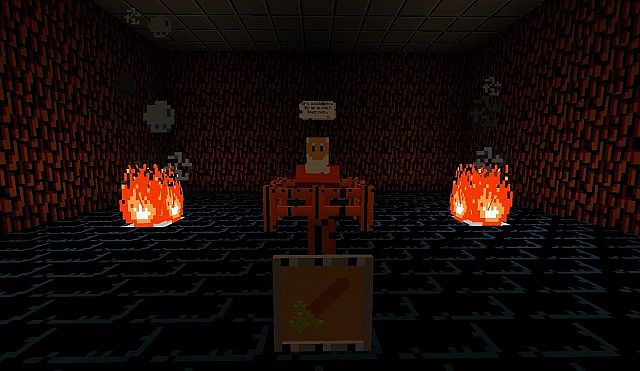
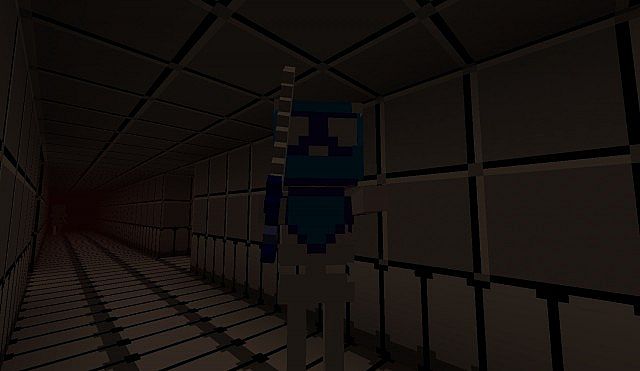
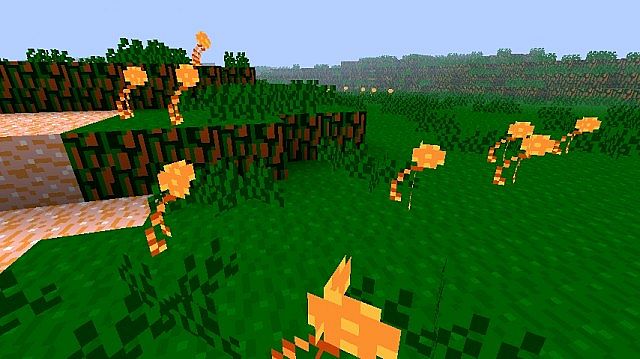
How to install Classic Zelda Texture Pack for Minecraft
- 1.Download a texture pack in a ZIP file format, do not unzip. If you created your own textures, you need to ZIP them. For in-depth instructions on obtaining the files to make your own custom texture pack go to Tutorials/Custom Texture Packs.
- 2.Run Minecraft. If you already have Minecraft running, make sure you save and quit the world: you need to be in the main menu to continue (If you have Optifine, you can go to Options > Video Settings while in-game).
- 3.Click Texture Packs button.
- 4.Click Open Texture Pack Folder button; this will open the folder where Minecraft stores all texture packs. If nothing happens, you need to find the folder manually. Depending on your operating system it is:
- Windows: %AppData%.minecrafttexturepacks
- Linux: ~/.minecraft/texturepacks (This folder may be hidden in the Home Folder)
- Mac OS X: ~/Library/Application Support/minecraft/texturepacks (This folder may be hidden)
- 5.Do not close Minecraft. Place the texture pack (ZIP file) in the opened folder, do not unzip.
- 6.In a few seconds the texture pack will appear in Minecraft. Select it (may take a few seconds for high-resolution packs), and click Done. The texture pack is now applied, you may now load your world and see the difference.
- Notice: You need patch this pack with MCPatcher to see all item.

For 1.5
http://www.mediafire.com/download/644ro7q91zn0yzh/Classic-Zelda-1.5.zip
https://mega.co.nz/#!SMdU2LRT!LOIgZDQHexC8O6pFFvuifgp16olqOqNy9aFhE11GMjs
For 1.4
https://mega.co.nz/#!nQMg3SqB!CHrFqlqm9cOroXd6AaIoKG4d0uoD2JRc9LRpj3Uc2hE
http://www.dl3.9minecraft.net/index.php?act=dl&id=1361449955
Không có nhận xét nào:
Đăng nhận xét